
I've seen instructions for DIY chore charts made with old picture frames and vinyl letters. Now,I do not have a fancy die cut machine nor do I work with vinyl. But yet, I wanted something I could display our household's daily chores without making a huge chalk mess (from the chalkboard in the kitchen).


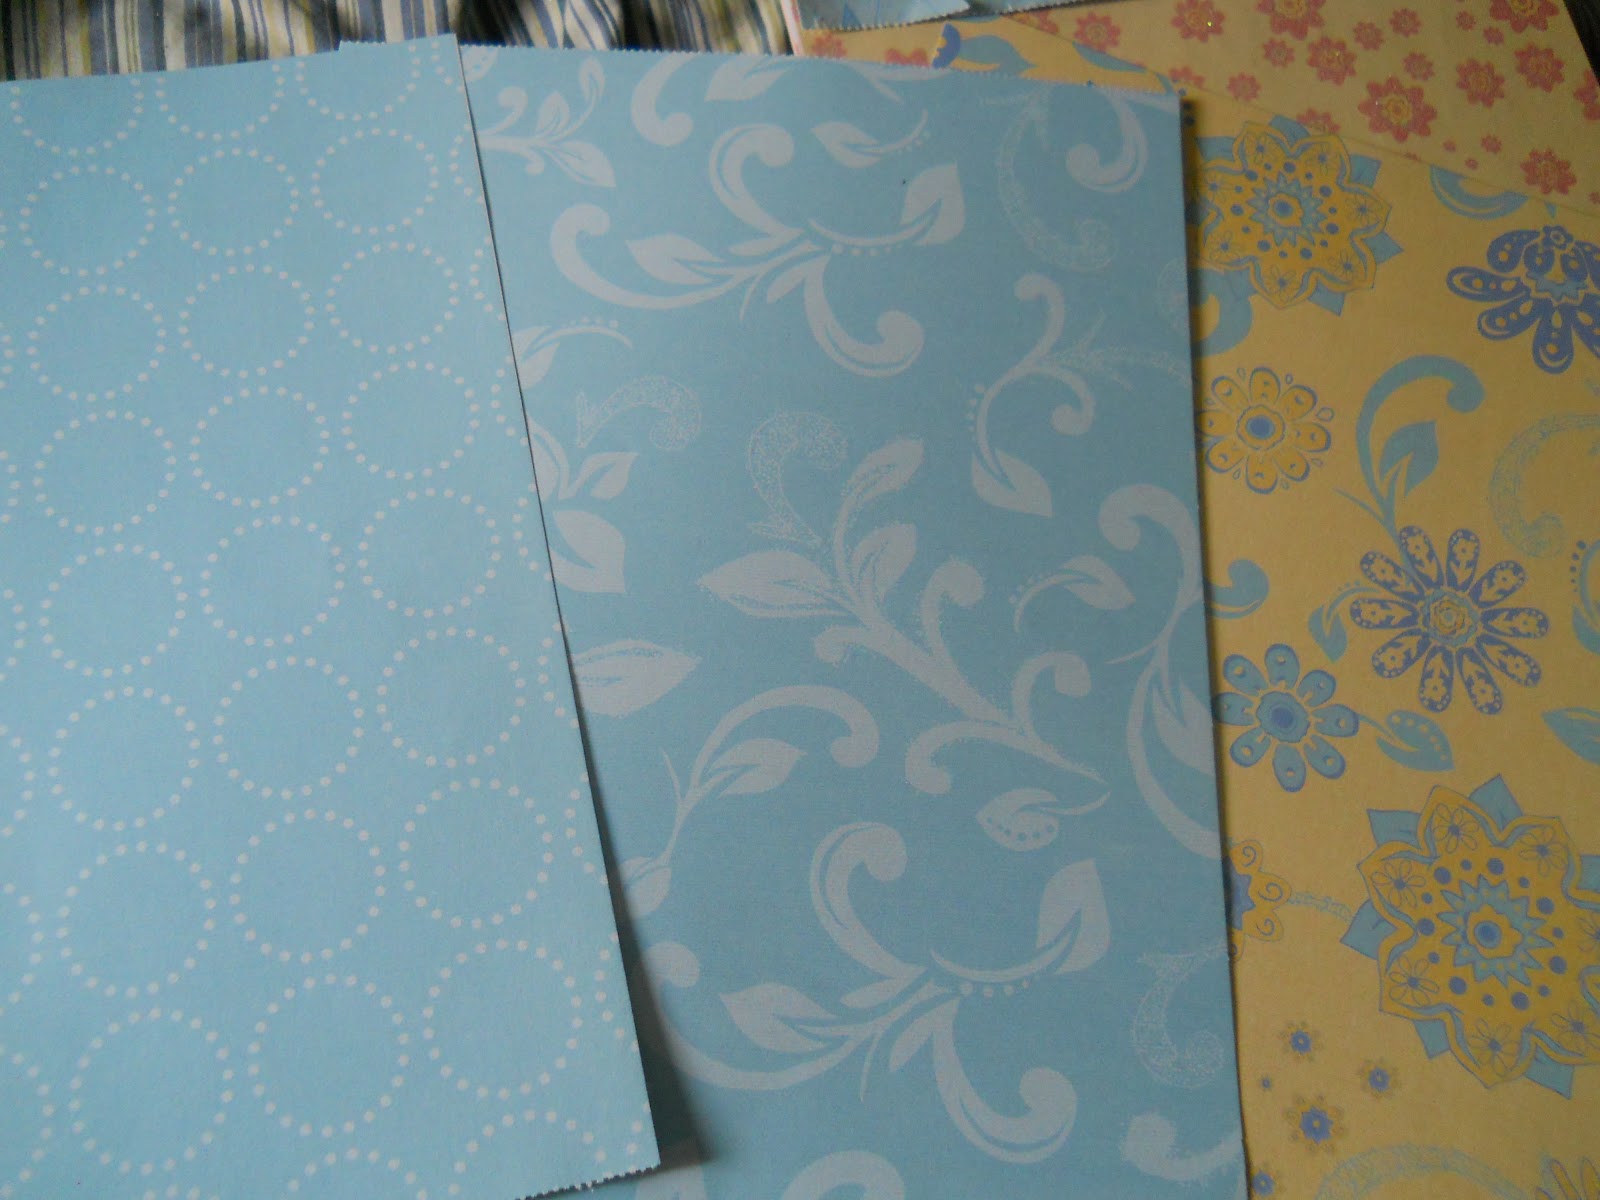
First: Choose your paper. I used an 8x10 frame I had hidden in my closet. Make sure you don't choose anything with glitter or a super busy background. You will be printing directly onto the paper and glitter doesn't mix well with printers! Also, you want your words to be legible, so anything super busy could make it harder to read.
Second: Choose your frame. I had this 8x10 black frame in my closet. This works out well since I have a lot of black accents in my kitchen!

Third: Create your chart. I chose items that had to be done everyday. Also, keep it big, bold and black. Again, you want it to stand out on your background.

Fourth: Print and frame! It's as simple as that! Do make sure you insert your paper in the correct way since the design is on one side (for most papers).

Here is my chore list hanging in my kitchen! You can use a small tipped dry erase marker to put a check nest to items that get finished that day! This is a super simple project that will not only help you stay organized and on top of chores, but it add a bit of color to a blank space!


